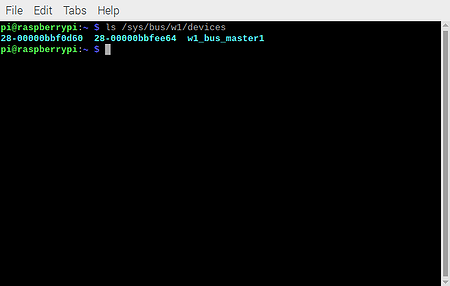
Click on the main menu, select “Preferences” and then “Raspberry Pi Configuration”.
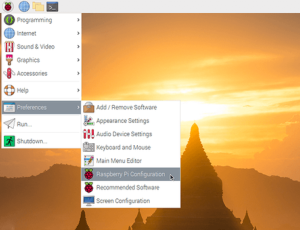
Now select the tab “Interface” and then and set 1-wire to “Enabled”.
Finally restart the Raspberry Pi.
Using "Raspberry Pi Configuration" on Raspberry Pi OS (Raspbian)
Click on the main menu, select “Preferences” and then “Raspberry Pi Configuration”.
Now select the tab “Interface” and then and set 1-wire to “Enabled”.
Finally restart the Raspberry Pi.
Using "raspi-config" on Raspberry Pi OS (Raspbian)
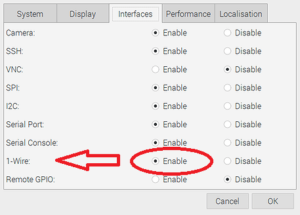
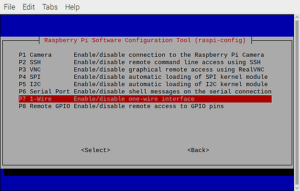
Type from Terminal the command to launch the raspi-config utility:
sudo raspi-config
Select “Interfacing Options”, now select “1-Wire”.
To the question “Would you like the one-wire interface to be enabled?” answer with “Yes”.
Finally reboot your Raspberry Pi.
Manually
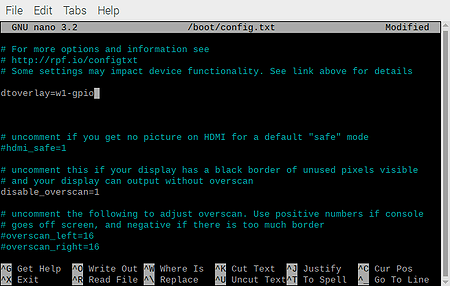
Edit the /boot/config.txt file:
sudo nano /boot/config.txt
(Some distributions may use the /boot/firmware/config.txt)
and add the following line:
dtoverlay=w1-gpio
If you would like to use a custom pin (the default is GPIO 4):
dtoverlay=w1-gpio,gpiopin=n
Finally reboot the Raspberry Pi
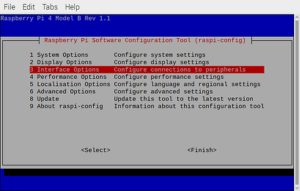
You can type the following command to see all the connected devices:
ls /sys/bus/w1/devices/
